

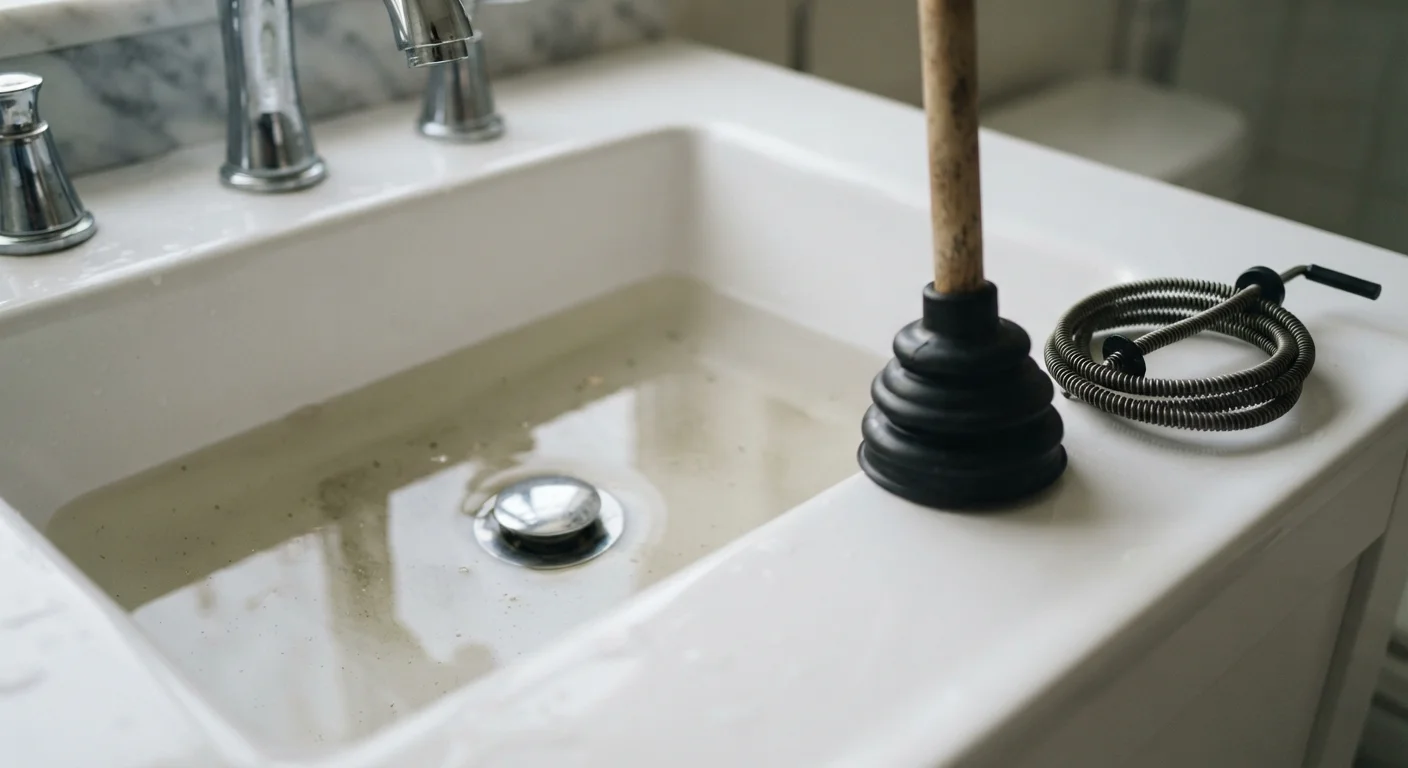
Why drains slow down — and why it matters
Slow drains are one of the most common household plumbing complaints, and they almost always start with the same culprits: hair and soap scum in bathroom drains, or grease and food particles in kitchen sinks. Over time, these materials bind together and narrow the drain line gradually — which is why drainage gets worse incrementally rather than stopping all at once.
Left unaddressed, a slow drain can progress to a full clog, create standing water that damages grout or caulk, or mask a deeper blockage developing in the shared drain line. As noted in our guide on how minor water problems escalate, what looks like a small inconvenience can quietly become a costly repair. Clearing a slow drain early is one of the simplest forms of home maintenance — and one of the most frequently delayed. See our piece on maintenance tasks new homeowners postpone for a fuller picture of what that delay costs.
What you will need
Tools you'll need
The right tool for the job depends on where the clog is sitting. Physical tools — a zip-it strip, plunger, or drain snake — are always the first and safest choice. Chemical options exist but carry meaningful trade-offs covered in the warning below. Gather what you have before you start, and work through the steps in order rather than jumping straight to the most aggressive method.
Zip-it drain cleaning tool
A flexible plastic strip with barbs that physically pulls hair and debris out of the drain.
Cup plunger
Creates suction to dislodge blockages in sink and tub drains.
Manual drain snake (hand auger)
Reaches deeper clogs beyond the P-trap that surface tools can't clear.
Baking soda and white vinegar
A mild, non-corrosive combination that can help break down organic buildup.
Adjustable pliers or channel-lock pliers
Used to remove certain drain stoppers or P-trap caps if manual access is needed.
Chemical drain cleaners carry real risks
Commercial chemical drain openers typically use sodium hydroxide (lye) or sulfuric acid. These can degrade older PVC joints, corrode metal pipes with repeated use, and cause serious skin or eye injuries if splashed. They can also create dangerous fumes in poorly ventilated spaces. Reserve them for situations where physical methods have genuinely failed, follow label directions exactly, and never use them in a completely blocked drain where the liquid will pool.
Step-by-step: clearing your slow drain
Work through these steps in sequence, testing drainage after each one. Most household clogs clear at step two or three, so you may not need to complete the full process. If you're unsure how far to go yourself, our guide to drawing the DIY line can help you decide.
Remove and clean the drain stopper or cover
Many bathroom sinks and tubs have a stopper or removable cover directly above the clog. Lift, unscrew, or pop it out — the method varies by fixture, but most twist counterclockwise or lift straight up. Rinse away the buildup you find there; in a surprising number of cases, this alone restores normal drainage.
Use a zip-it tool to pull out hair and debris
Insert the zip-it or a similar barbed plastic tool slowly into the drain opening and rotate it slightly as you push down. When you feel resistance, pull upward with a steady motion. Repeat two or three times, clearing debris off the tool between passes. This method physically removes the clog rather than pushing it further down.
Try the baking soda and vinegar method
Pour half a cup of baking soda directly into the drain, followed by half a cup of white vinegar. Cover the drain opening with a cloth or drain plug for five to ten minutes — this keeps the fizzing reaction working on the clog rather than bubbling out. Flush with hot (not boiling) tap water for 30 seconds afterward.
Plunge the drain
Use a cup plunger — not a flange plunger, which is designed for toilets. Cover the drain completely with the cup, add enough water to submerge the rim, then push and pull firmly 8–10 times without breaking the seal. The pressure change can dislodge blockages the zip-it tool didn't reach. Run water immediately afterward to check flow.
Use a manual drain snake for deeper clogs
Feed the snake cable into the drain slowly, turning the handle clockwise as it advances. When you feel resistance, continue rotating to break up or hook the clog. Pull the cable back slowly, wiping it clean as it exits. Run water to confirm the blockage has cleared. A hand auger typically reaches 15–25 feet — enough for most household drain lines.
Flush and test
Run warm water at full pressure for 60 seconds to confirm drainage has improved. If the drain is still slow but better, repeat the most effective step before moving on. If there is no improvement after completing all methods, or if multiple drains in the home are slow simultaneously, this may indicate a blockage in the main line rather than an individual fixture.
Know when to call a licensed plumber
If two or more drains are slow at the same time, you hear gurgling from other fixtures when water drains, or you notice sewage odors, stop troubleshooting and contact a licensed plumber. These are symptoms of a main-line blockage or venting problem — neither of which should be addressed with DIY tools. Attempting to snake a main line without professional equipment can worsen the blockage or damage the line.
Keeping drains clear going forward
The best drain maintenance is prevention. Hair catchers — mesh inserts that sit over the drain opening — are the single most effective tool for bathroom drains and cost under a few dollars at most hardware stores. In the kitchen, the main offenders are cooking grease, starchy water from pasta or rice, and coffee grounds. None of these should go down the drain; instead, let grease solidify and discard it in the trash.
A monthly flush with hot tap water (not boiling, which can soften PVC joints) helps rinse accumulated soap films before they harden. The baking soda and vinegar method described in the steps above also works well as a monthly reset rather than an emergency measure.
Prevention is simpler than repair
Fitting each drain with an inexpensive hair catcher eliminates the most common cause of slow drains before it starts. Rinse drains with hot tap water for 30 seconds after each use of soaps or shampoos, and avoid putting grease, coffee grounds, or starchy foods down kitchen drains. Monthly maintenance takes minutes and rarely requires tools.
This article is for general informational purposes only. Plumbing systems vary by home age, pipe material, and local code. For any repair beyond basic drain maintenance — especially work involving main lines, drain-waste-vent systems, or visible pipe damage — consult a licensed plumber.
The content provided on our blog site traverses numerous categories, offering readers valuable and practical information. Readers can use the editorial team’s research and data to gain more insights into their topics of interest. However, they are requested not to treat the articles as conclusive. The website team cannot be held responsible for differences in data or inaccuracies found across other platforms. Please also note that the site might also miss out on various schemes and offers available that the readers may find more beneficial than the ones we cover.